How to Build Product Course
Creating Product Course
You can connect to a payment processor like Stripe to collect payments from your customers.
This is where you can create courses to build a gateway to memberships.
You can decide to use the templates provided (Sprint, Marathon, and Membership) or build your course from scratch. The process of creating these courses is all the same.
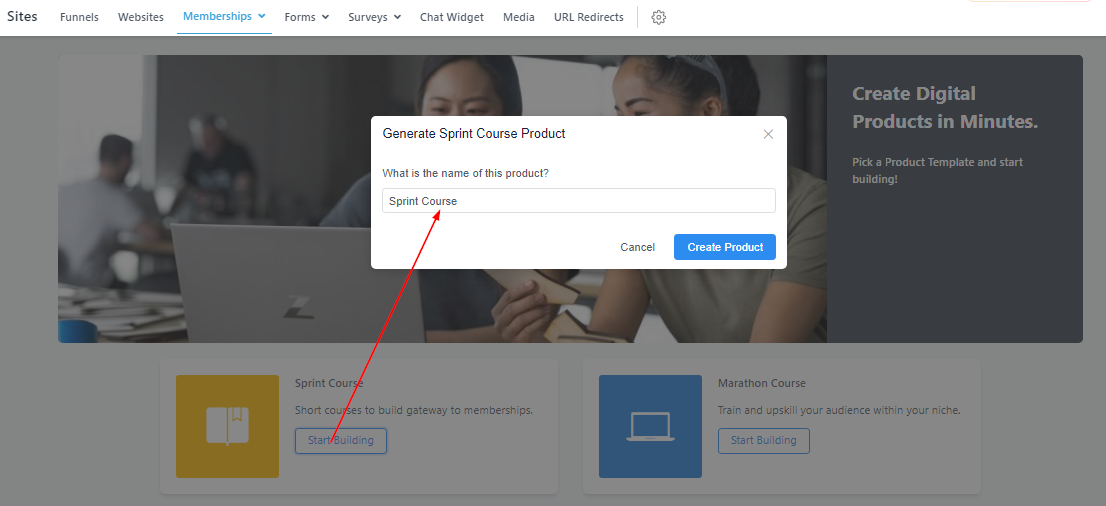
For the purpose of this training, I’ll be using the “Sprint Course” as an image reference.
Generate Course Product
Here you will give the course you are about to create a name, then click on “Create Product” to save it.
When you create the product course, it will appear as shown below. Here you can either edit, preview, customize, or clone this course. You can also set a price value for the course.
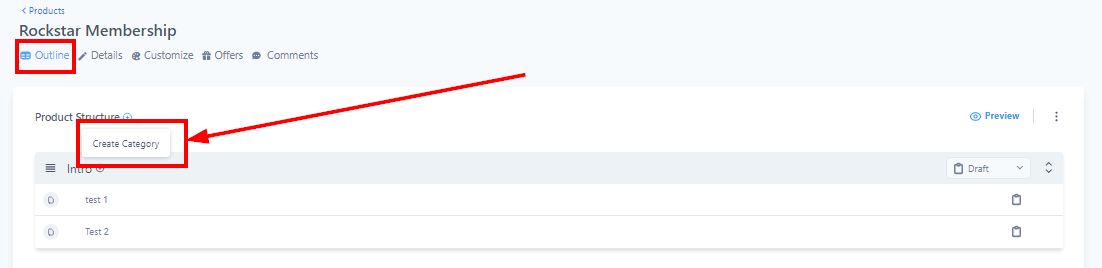
Outline: Create a Category
To add or create a category to your product, click on the (+) beside the Product Structure.** ** You will give the category a title and then save it!
Add Lesson
You can decide to add lessons to your Product and don’t forget to add a title for each lesson you create.
-
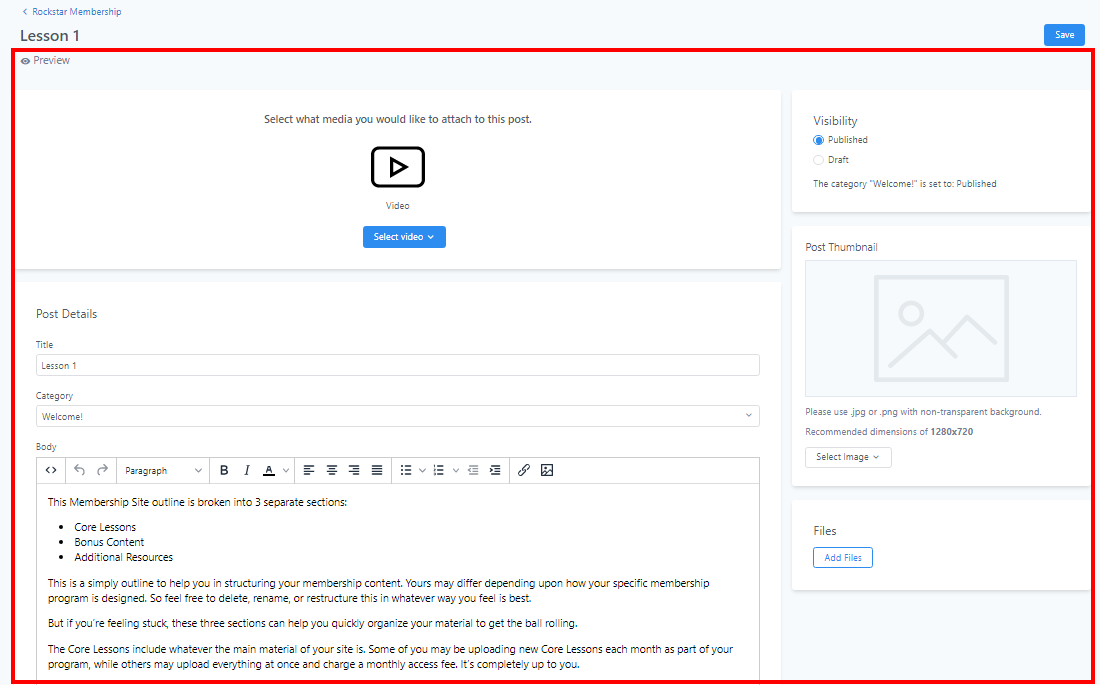
Preview: Click on the Preview button to see how your lesson looks like when it goes live
-
Add Video: Click on “Select Video” to upload a new file. The supported video types are .mp4, .webm, and .mov
-
Post Details: This section consists of the Lesson title, the Category the lesson belongs to, and the body of the lesson.
-
Visibility: When you are done editing your lesson, you can switch to Publish mode from Draft.
-
Product Thumbnail: This image will be displayed when your members view each lesson. The recommended dimensions is 1280×720. To add an image, click on the “Select Image” button and upload a new file from your device. If you want to delete an uploaded image, You can click on “remove” on the right side of the “Select image” button.
-
Files: You can upload any additional info/files here.
-
Save: Don’t forget to save your work!
Add Subcategory