In this section, you are able to manage your social media channels and post to Facebook, Instagram, and even Google My Business!
You can also manage your posting calendar so you have a weekly and/or monthly view of what’s being posted to where!
Depending on your user permissions, you may not have access to all of the components.
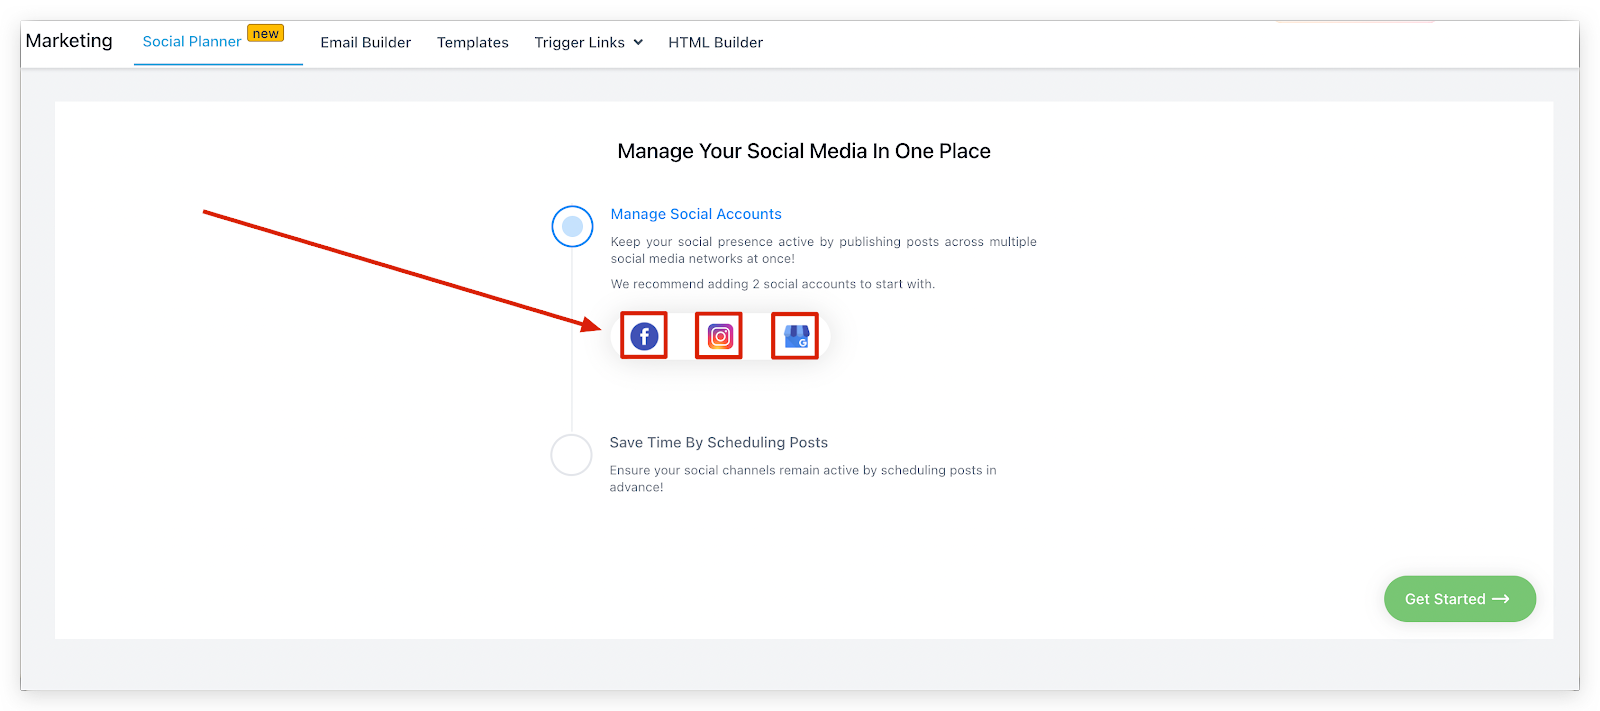
If you haven’t already connected your social media pages/groups, you will need to do that first. You can connect pages/groups by clicking on the icon shown here.
Don’t worry, you can always connect and disconnect accounts later, but you will need at least one page connected to move to the next section and start posting.
Selecting Accounts
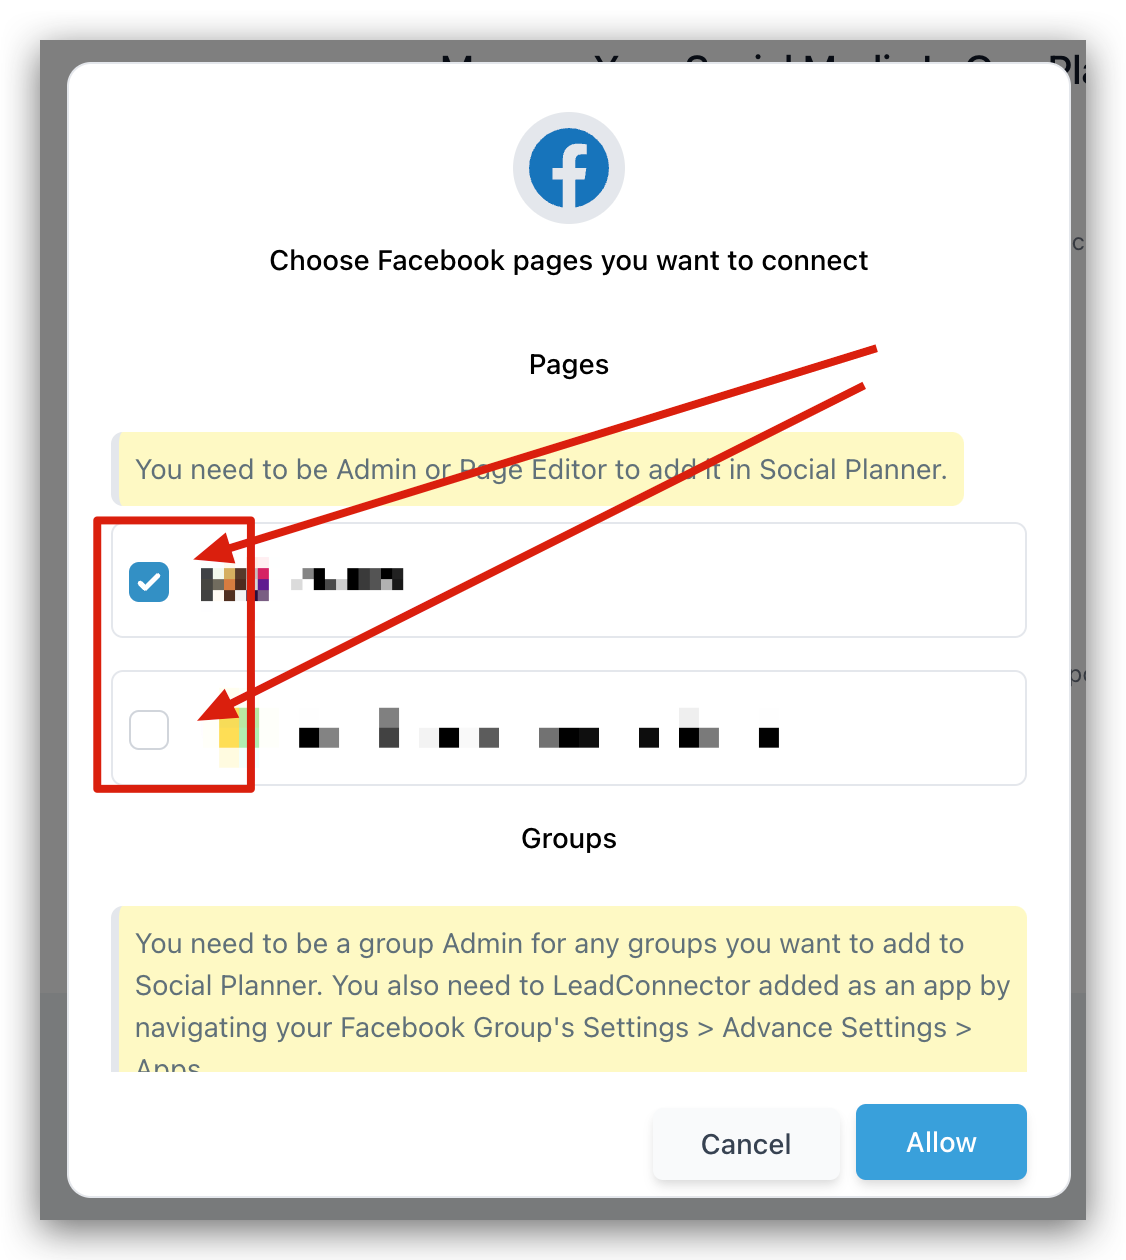
If you are connecting your Facebook page/group, after clicking on the Facebook icon you will see a popup that looks like this. You will need to select the pages/groups that you want to use for social posting by clicking the checkboxes next to their name.
Allow Account Access
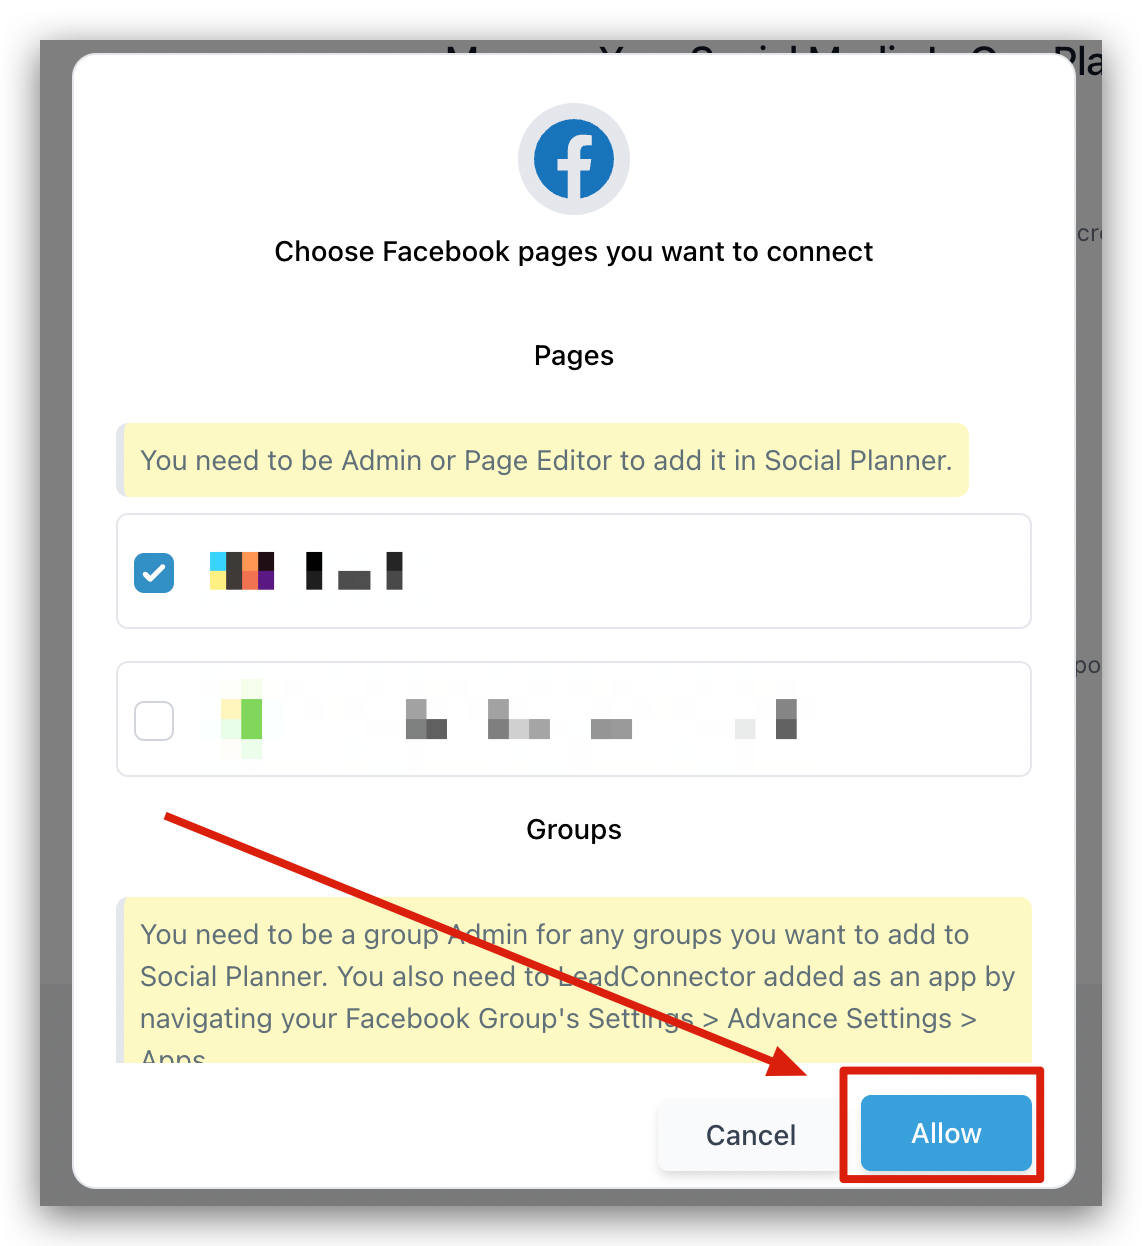
After selecting your pages/groups, make sure to click the ‘Allow’ button. This will establish a secure connection between your CRM and the page/group.
Get Started!
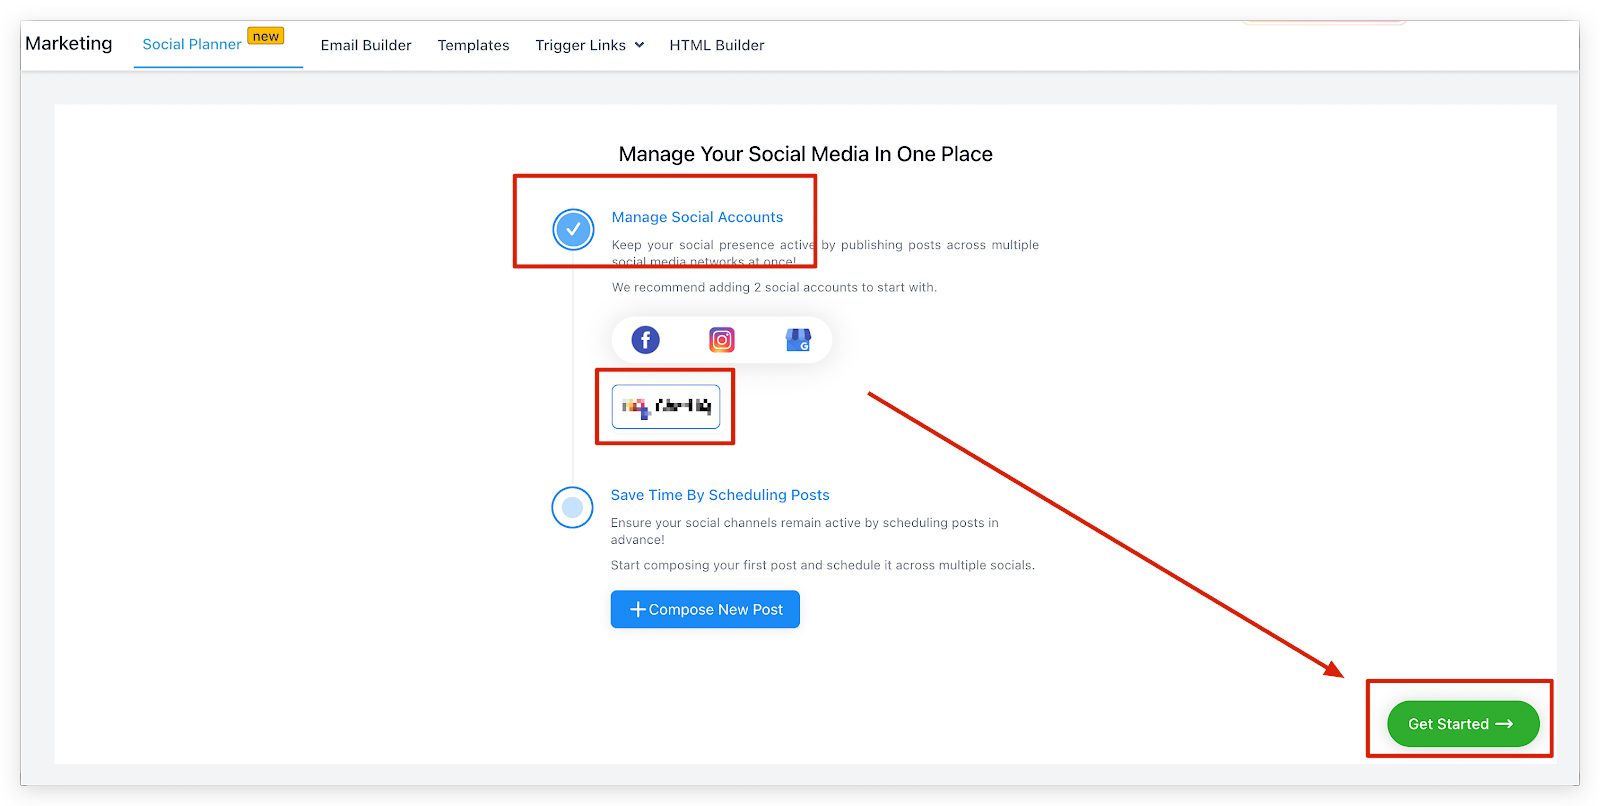
After ‘Allowing Access’ you will see the pages/groups on the screen and a checkmark next to the ‘Manage Social Accounts’ step. This is confirming that your account has been successfully connected!
To move to the next step and start scheduling your social media posts simply click on the ‘Get Started’ button in the bottom right corner of the screen!
List Of Connected Accounts
Once you are finished connecting your accounts, and you are able to start posting, you will see your connected accounts in the following area