How to Add a Domain and Verify DNS Record
Modified on: Mon, 8 Apr, 2024 at 11:23 PM
This guide will help you add and verify your email domain.
Verifying your domain is really important before you start sending emails. We ask everyone to do this to track opens and clicks, stop spam, and make sure only you and your team can send emails from your domain.
TABLE OF CONTENTS
Add Your Domain
- Once you are in the Sub-account > Click on Settings > Email Services > Dedicated Domain and IP > + Add Domain.
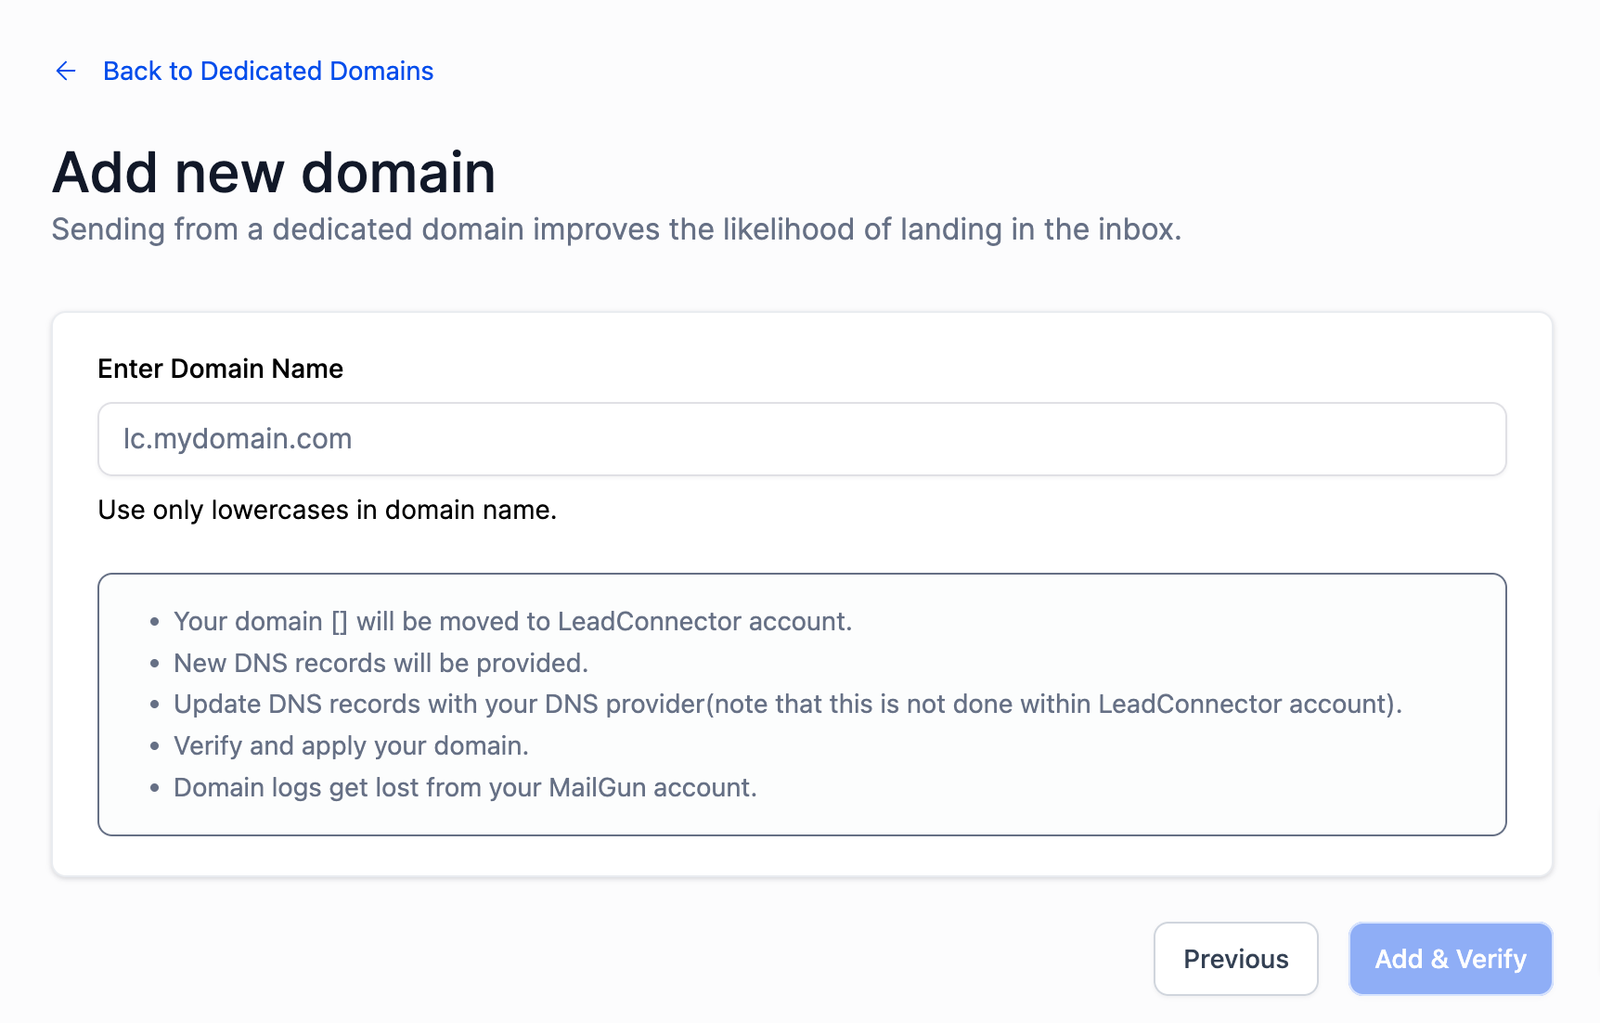
- Enter the domain you want to use in the “Enter domain name” field, then click “Add & Verify.”
we recommend using a subdomain for better email deliverability.
Verify Your Domain
Here are two options for you: Connect through your DNS provider or Set up manually.
-
Option 1: Connect Your domain(Auto Configure DNS)
This is the easiest method to verify and authenticate your domain. It uses our built-in connection with many top DNS providers to automatically set up DNS records. This way, you can verify and authenticate your domain in just one simple process.
- Click “Continue” on the next modal.
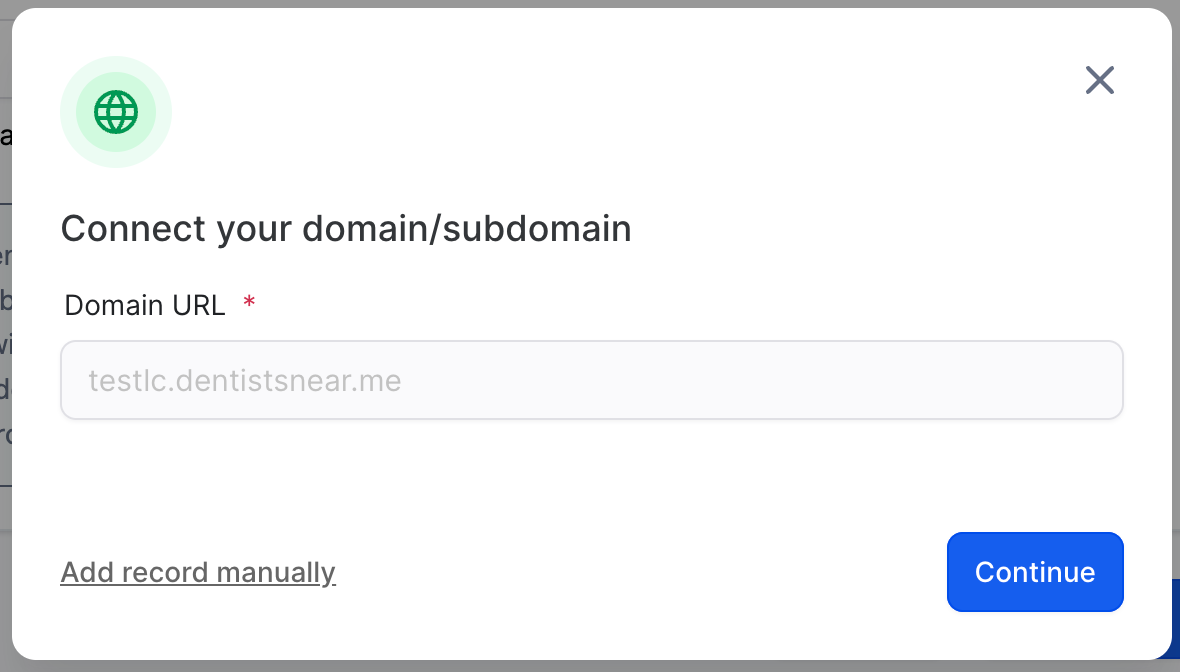
Our system will detect your DNS provider and then guide you directly to their platform.
Note: The "Configure Domain" option may not be compatible with all DNS providers. If our system is unable to identify your provider,
the records will be shown in a modal window. Click here to manually add the DNS records.
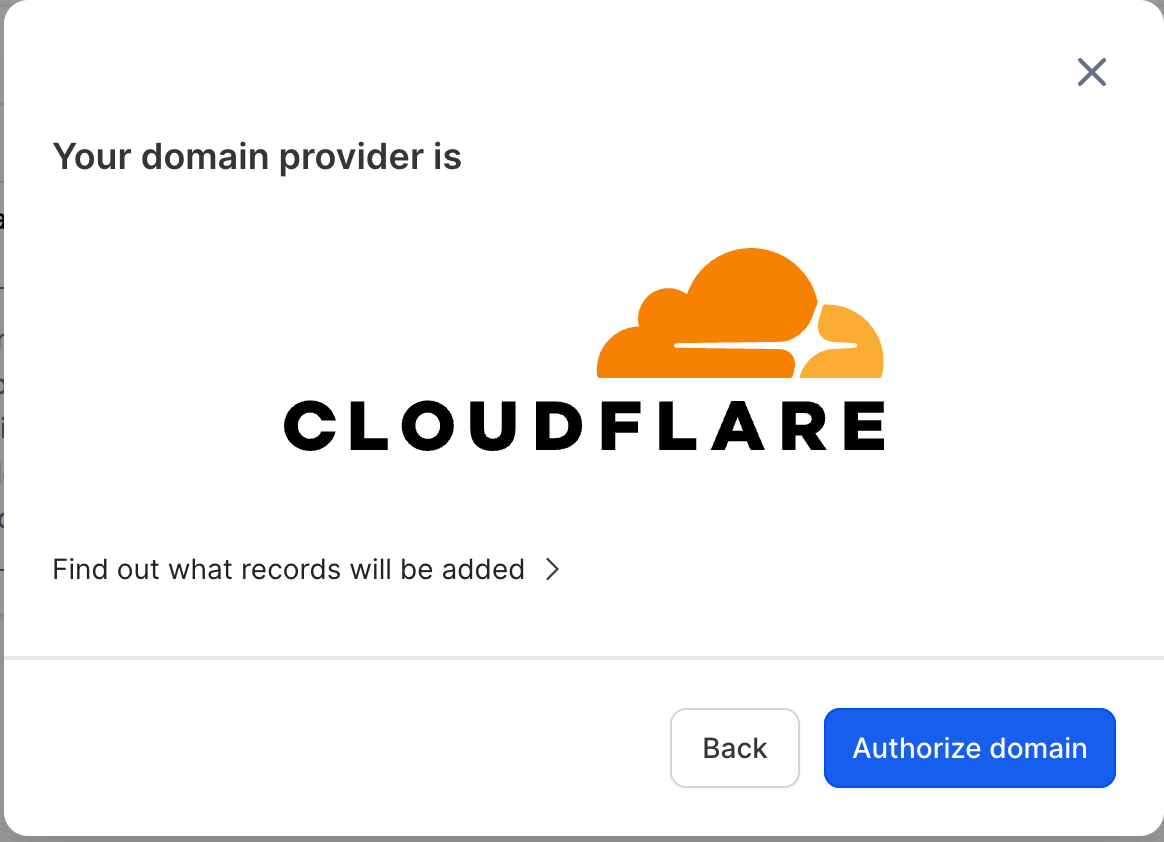
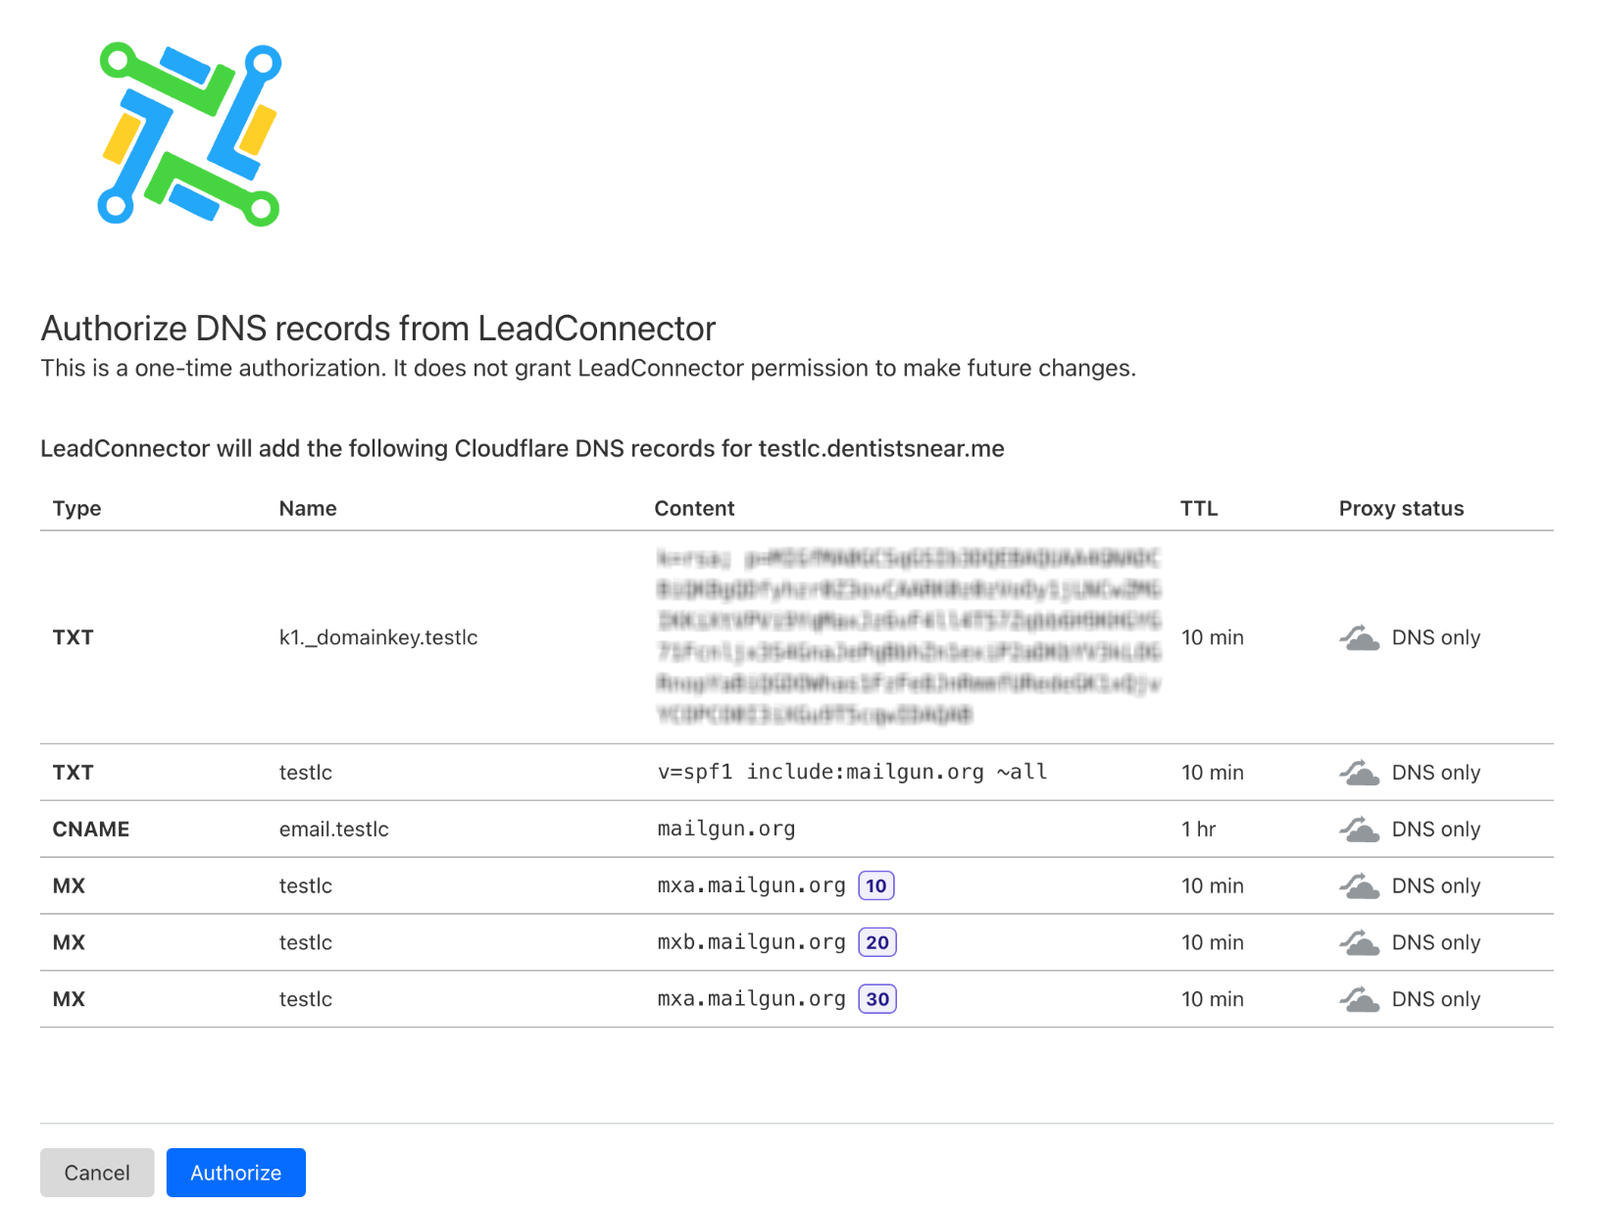
The example below shows the DNS provider is Cloudflare. To move forward, you will need to have the credentials to log into your DNS provider.
Click “Authorize domain” on the next modal.
- Login to your DNS provider. This will look slightly different for each provider. This example is Cloudflare. The login method will also be slightly different for each DNS provider.
The DNS provider in question may ask you to enter a confirmation code emailed or texted to you.
Click “Authorize” on the Cloudflare page.
You will redirected to the domain verification page.
Note: It might take anywhere from 1 to 10 minutes for DNS changes to spread across the internet. Typically, it happens faster, but don’t worry if it doesn’t happen right away. DMARC: If you’ve already added the policy to your root domain, you can skip adding the DMARC record for the sub-domain.
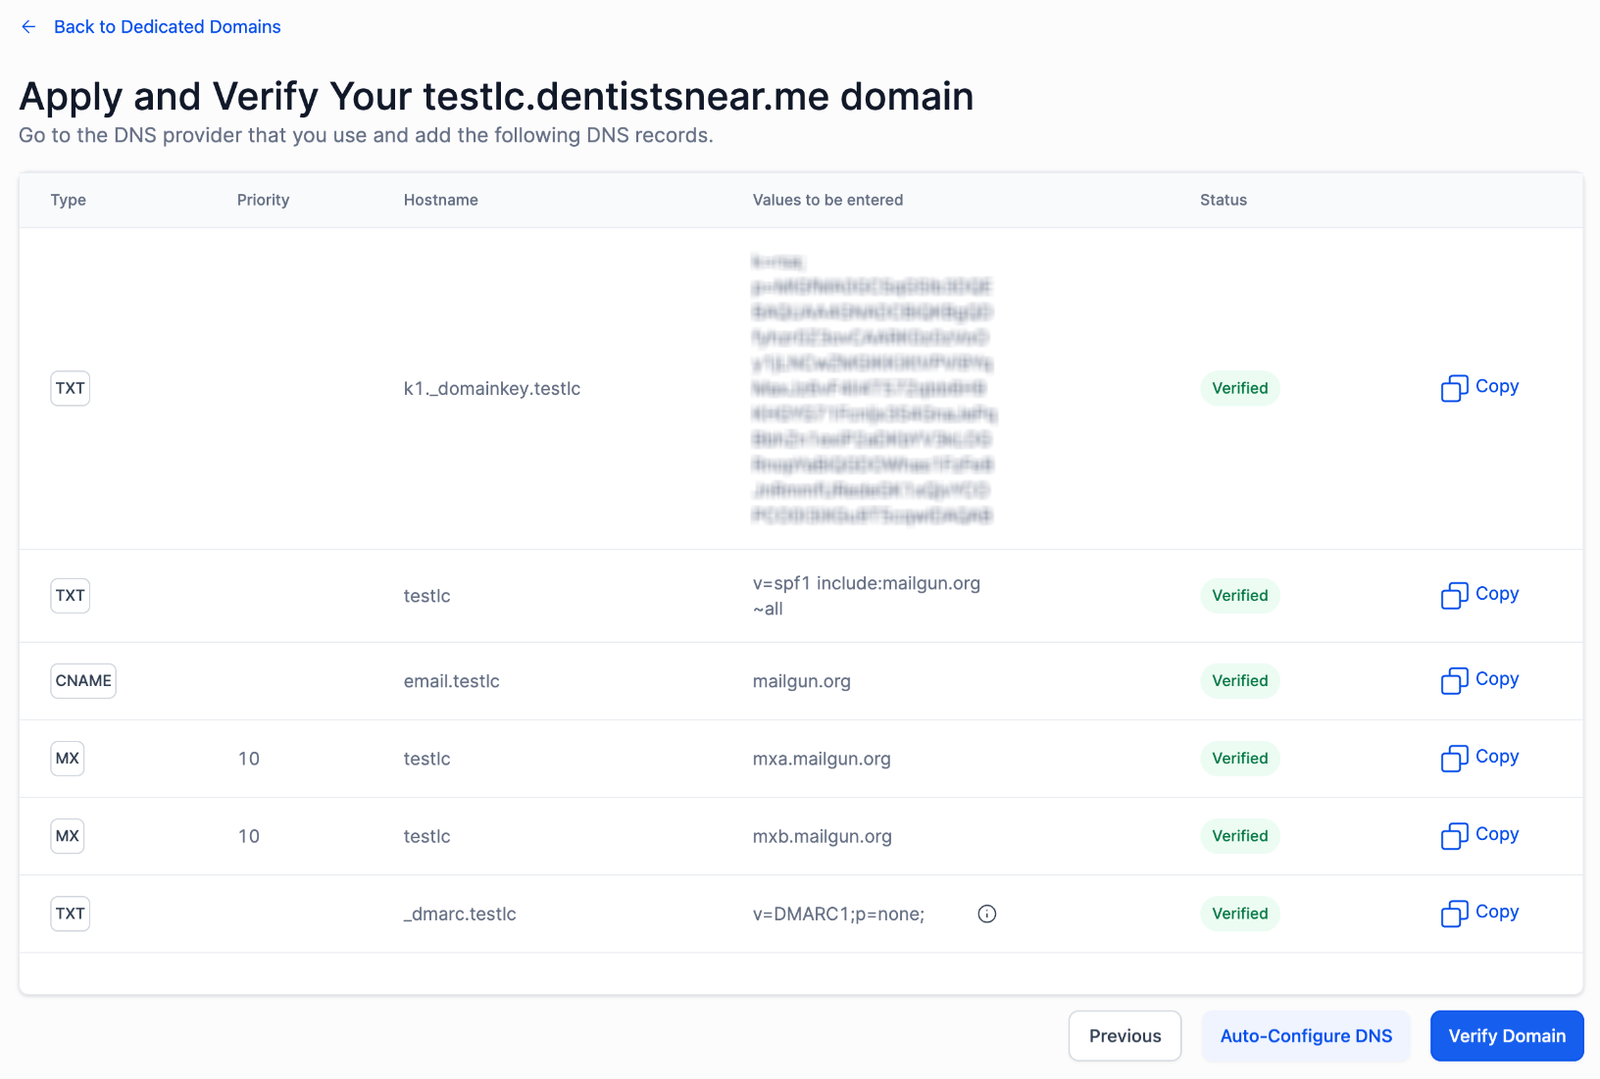
If everything is set right you’ll see a Verified status like this:

Option 2: Set Up Manually
- Once you’ve added the domain, if our system couldn’t identify your provider, the records will be displayed for you to see.
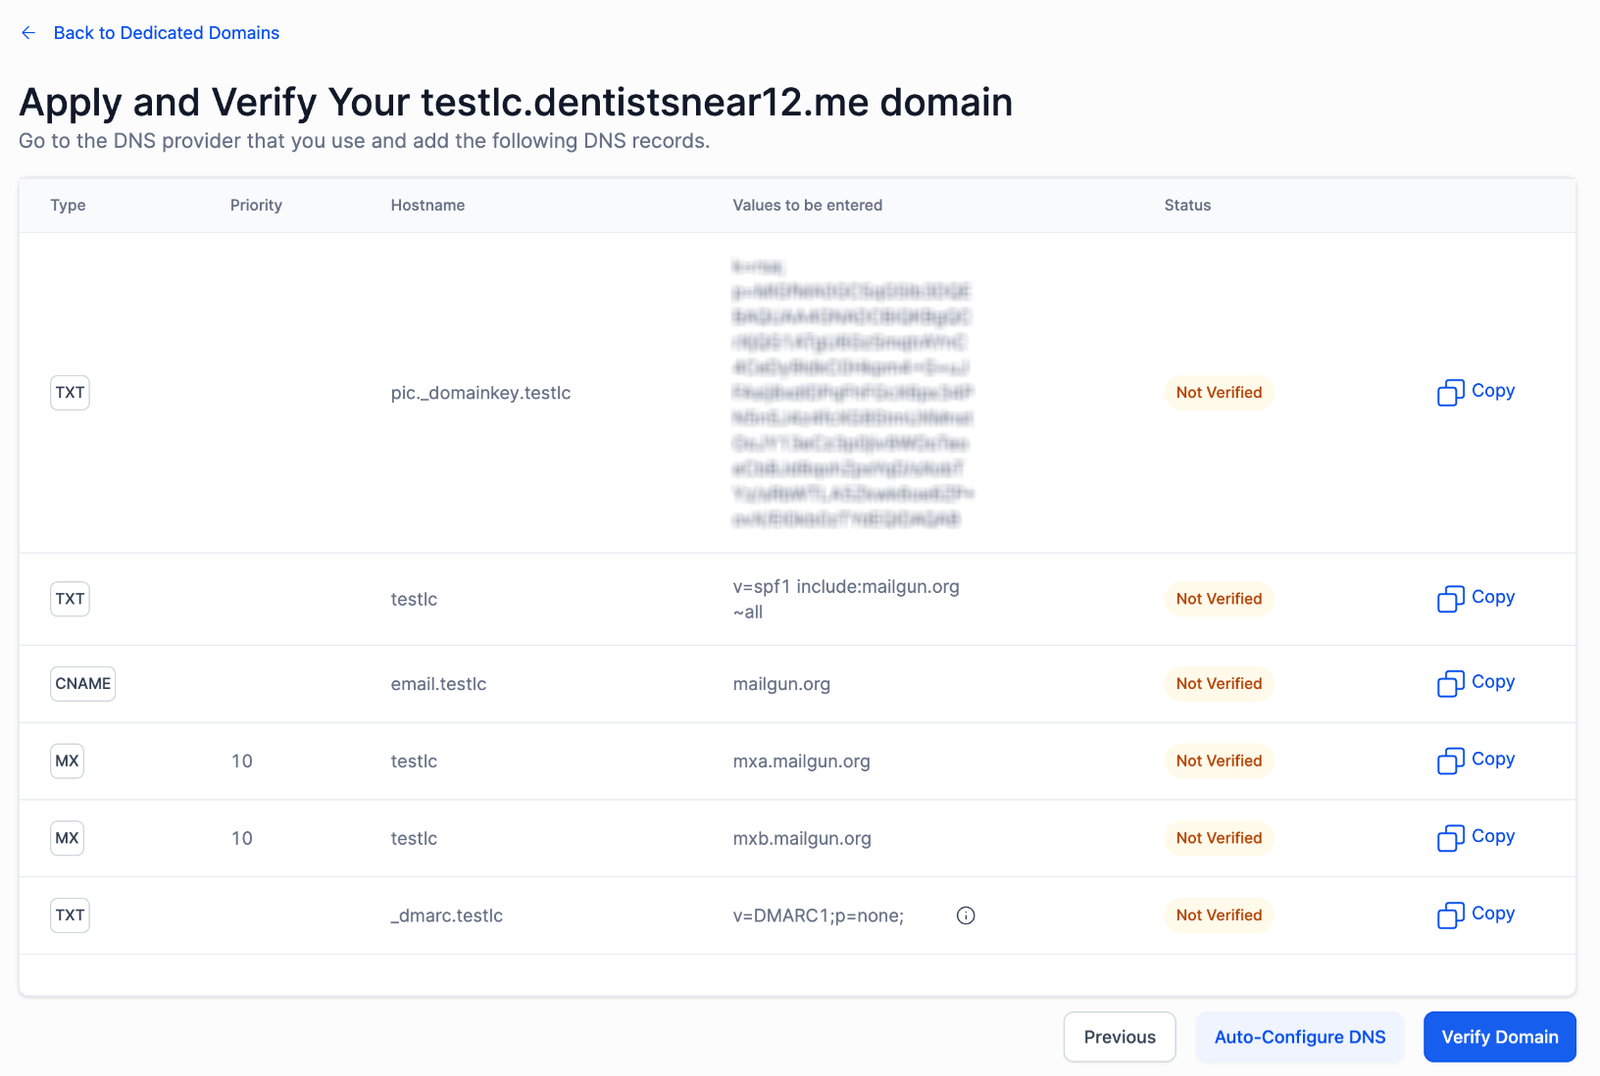
- Most DNS providers will typically require the following information to set up your DNS records:
- Root domain example:
Type Choose the for each row: TXT, CNAME and MX Name or Hostname Copy and paste the “Name” for each DNS record as follows: Use “@” if your DNS was not verified. Remove the “@” and add your root domain name instead. Example: if your domain name is “yourdomain.com”, replace “@” with “yourdomain.com”.
Value or Record Copy and paste the “Value” shown for each DNS record. TTL 5 minutes - Sub-domain example:
TypeChoose the for each row: TXT, CNAME and MXName or HostnameCopy and paste the “Name” for each DNS record. Example: If the hostname is mail.yourdomain.com, you may just have to enter the subdomain, which would be “mail”. If it’s not verified, add the full name like mail.yourdomain.com.
Value or RecordCopy and paste the “Value” shown for each DNS record.TTL5 minutes
- Root domain example:
- If everything is set right you’ll see a Verified status like this:
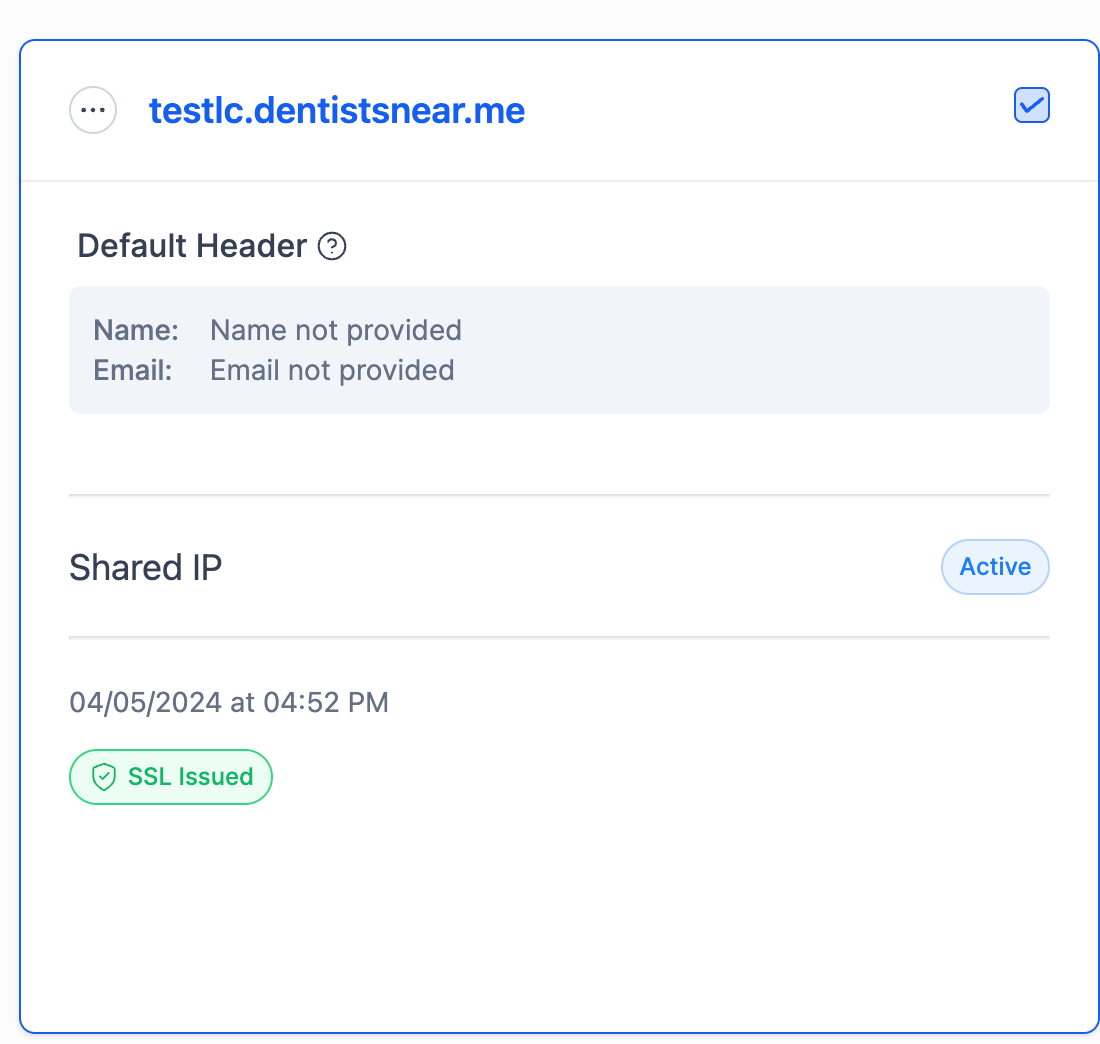
You will be redirected to the Dedicated Domain page where you can see the active status.
Note: After your domain is verified, issuing the SSL certificate may take between 1 to 10 minutes. Usually, it happens faster, but don’t worry if it doesn’t happen immediately.