- Step 1: Access Custom Reports:
- Step 2: Start from Scratch or Use an Existing Dashboard:
- Step 3: Using the Report Builder:
- Step 4: Customize the Cover Page:
- Step 5: Adding Widgets,Sections and Themes:
- Step 6: Managing Pages:
- Step 7: Download Your Report:
- Step 8: Save, Send, or Schedule Your Report:
- Step 9: Configure Your Report’s Schedule and Delivery:
- Step 10: Send a Test Email:
- Step 11: Final Step – Save and Schedule:
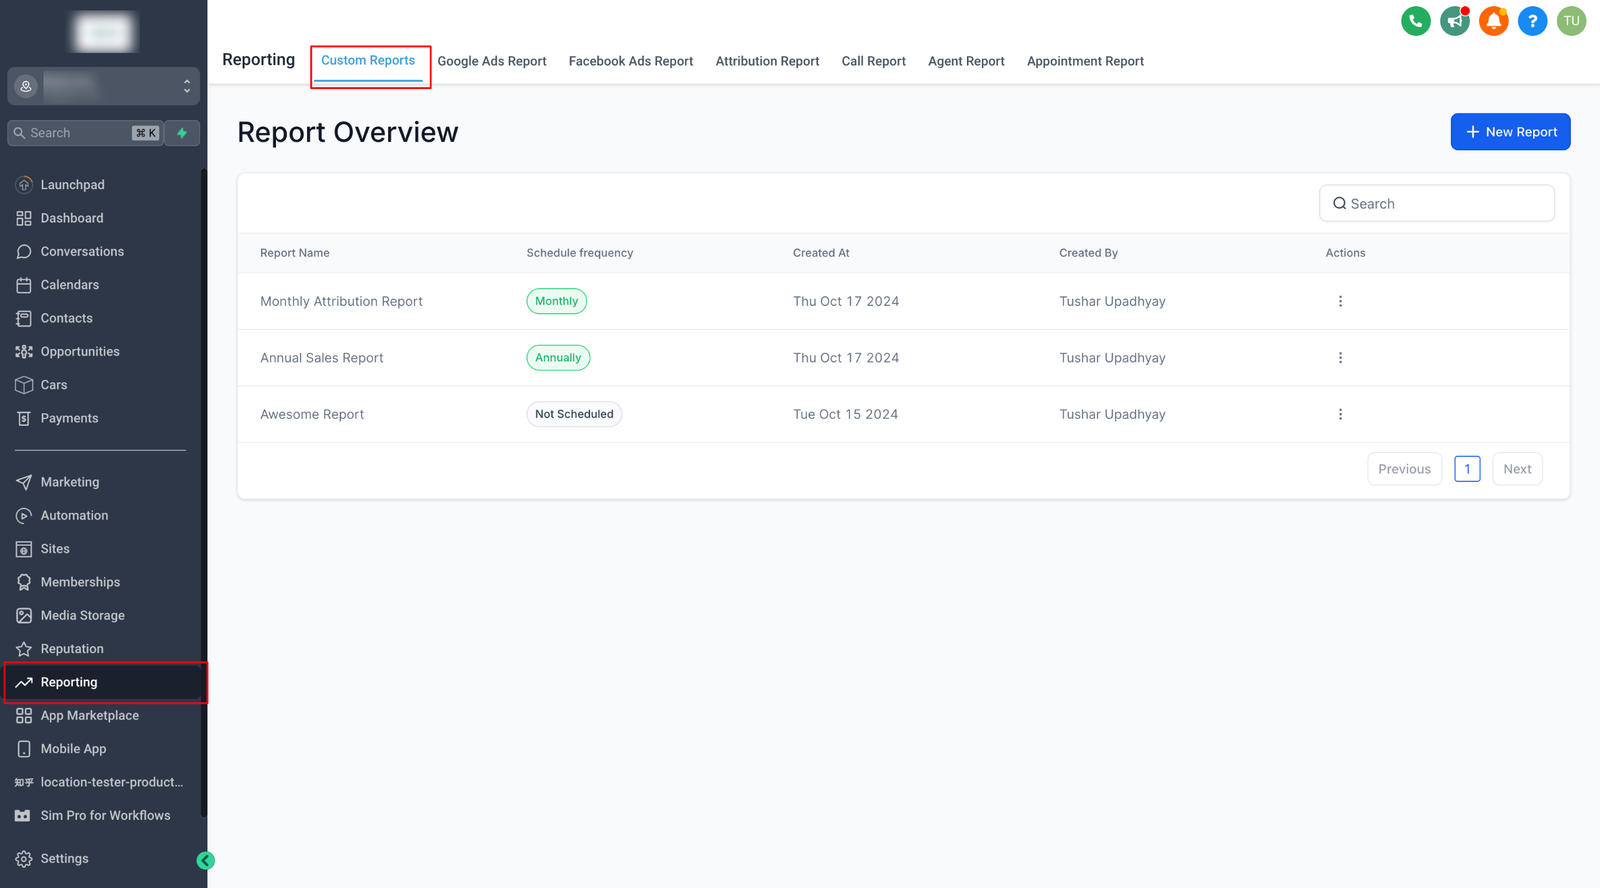
Step 1: Access Custom Reports:
-
Navigate to the “Reporting” section and click on Custom Reports.
-
Select New Report to start building your report.
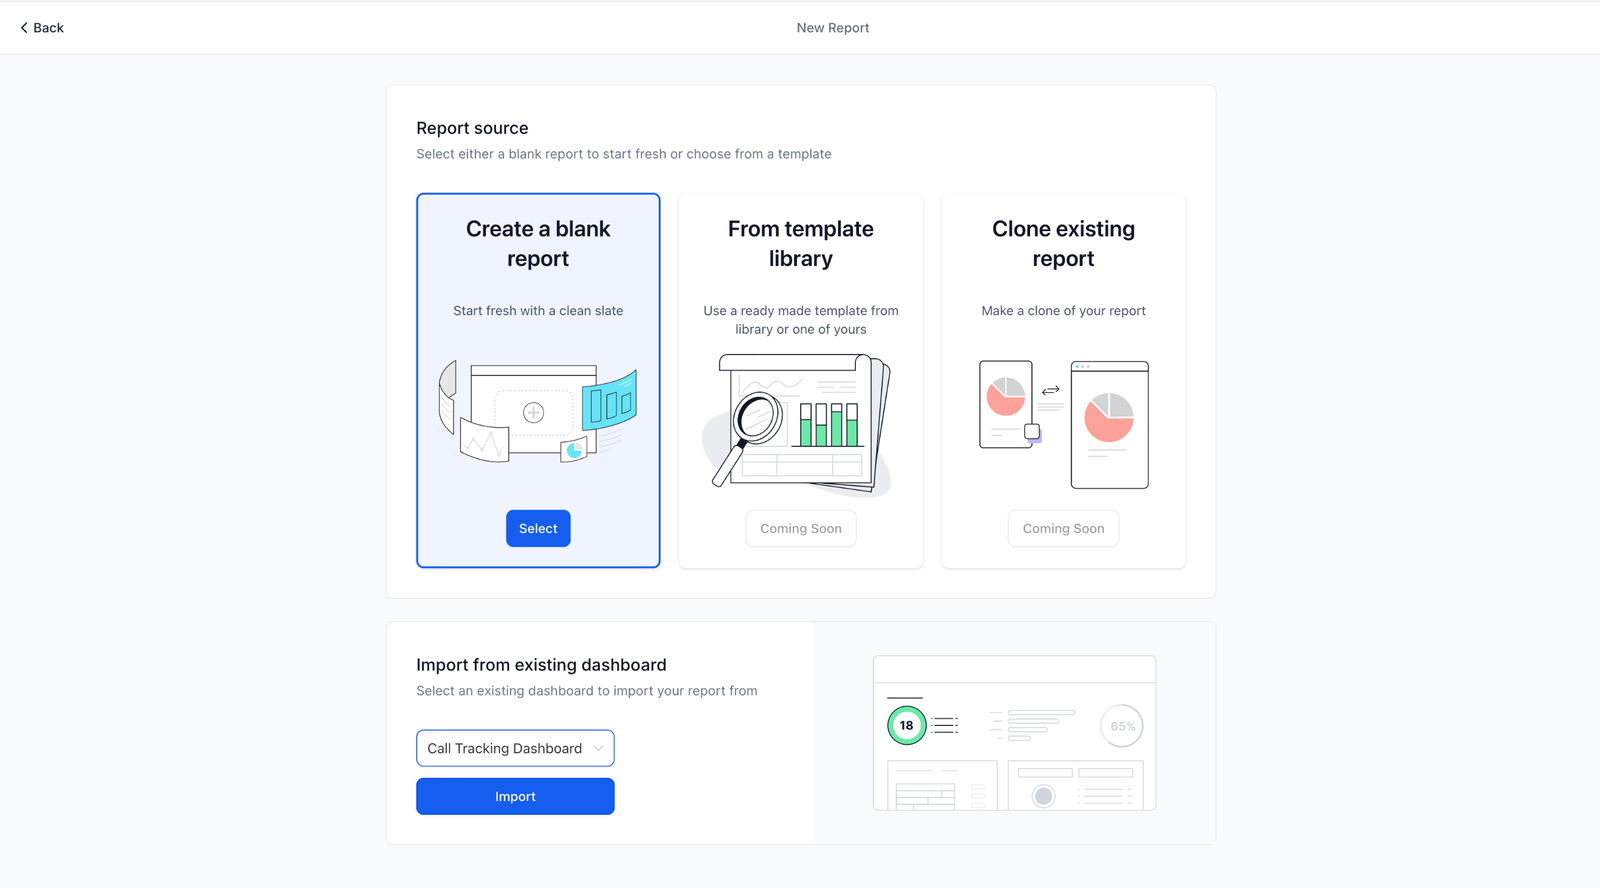
Step 2: Start from Scratch or Use an Existing Dashboard:
-
You can either create a report from scratch or convert an existing dashboard into a report.
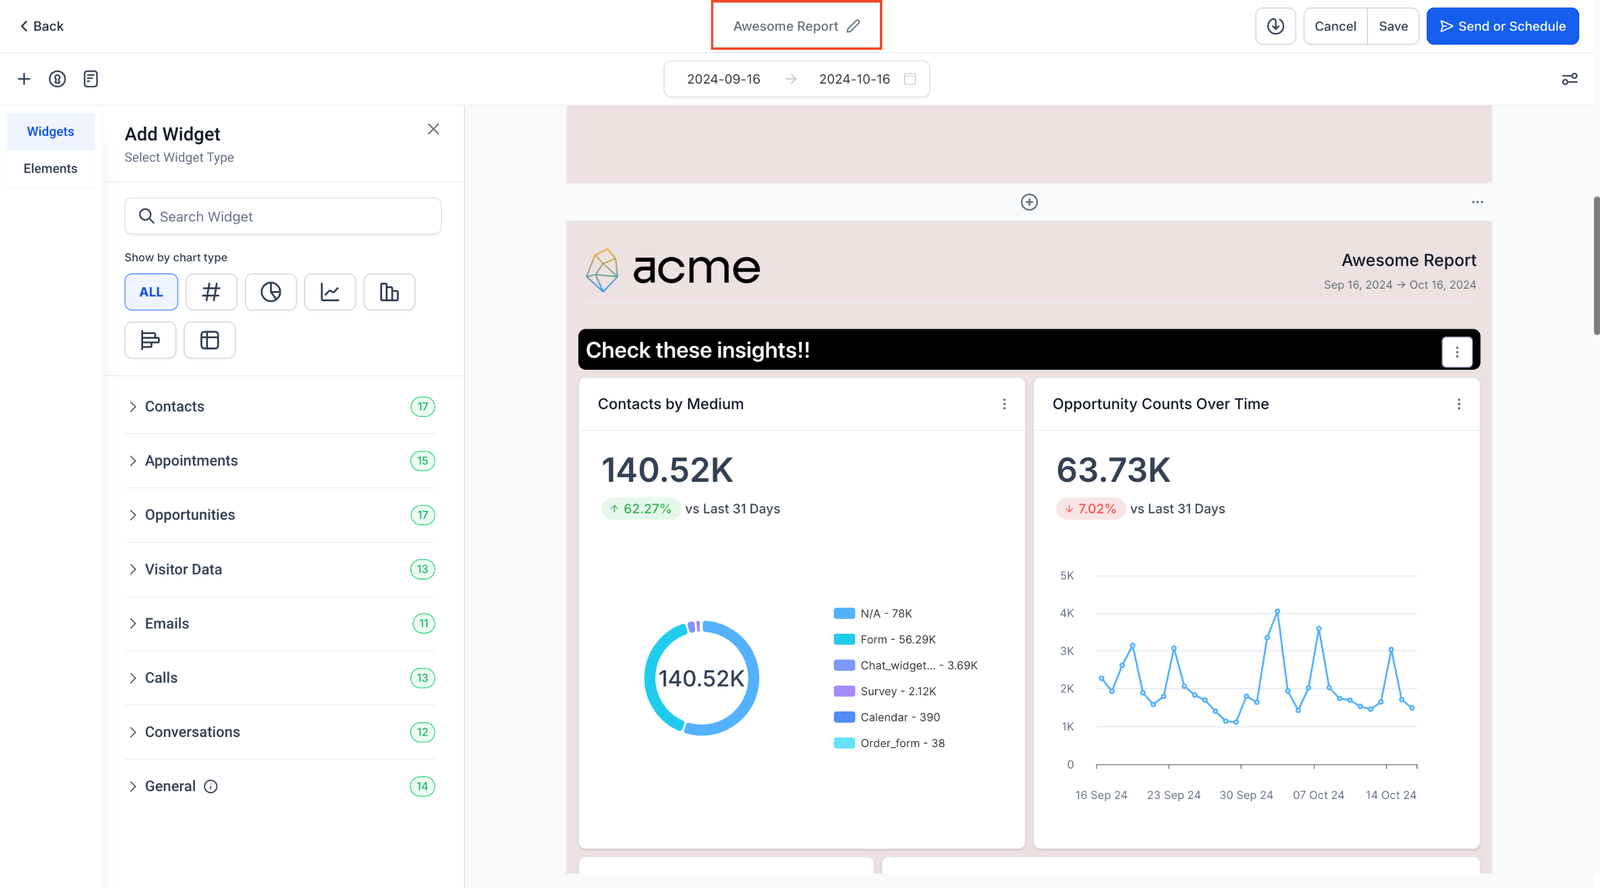
Step 3: Using the Report Builder:
-
If starting from scratch, you’ll be taken to the Report Builder.
-
At the top, you can rename your report to reflect its purpose.
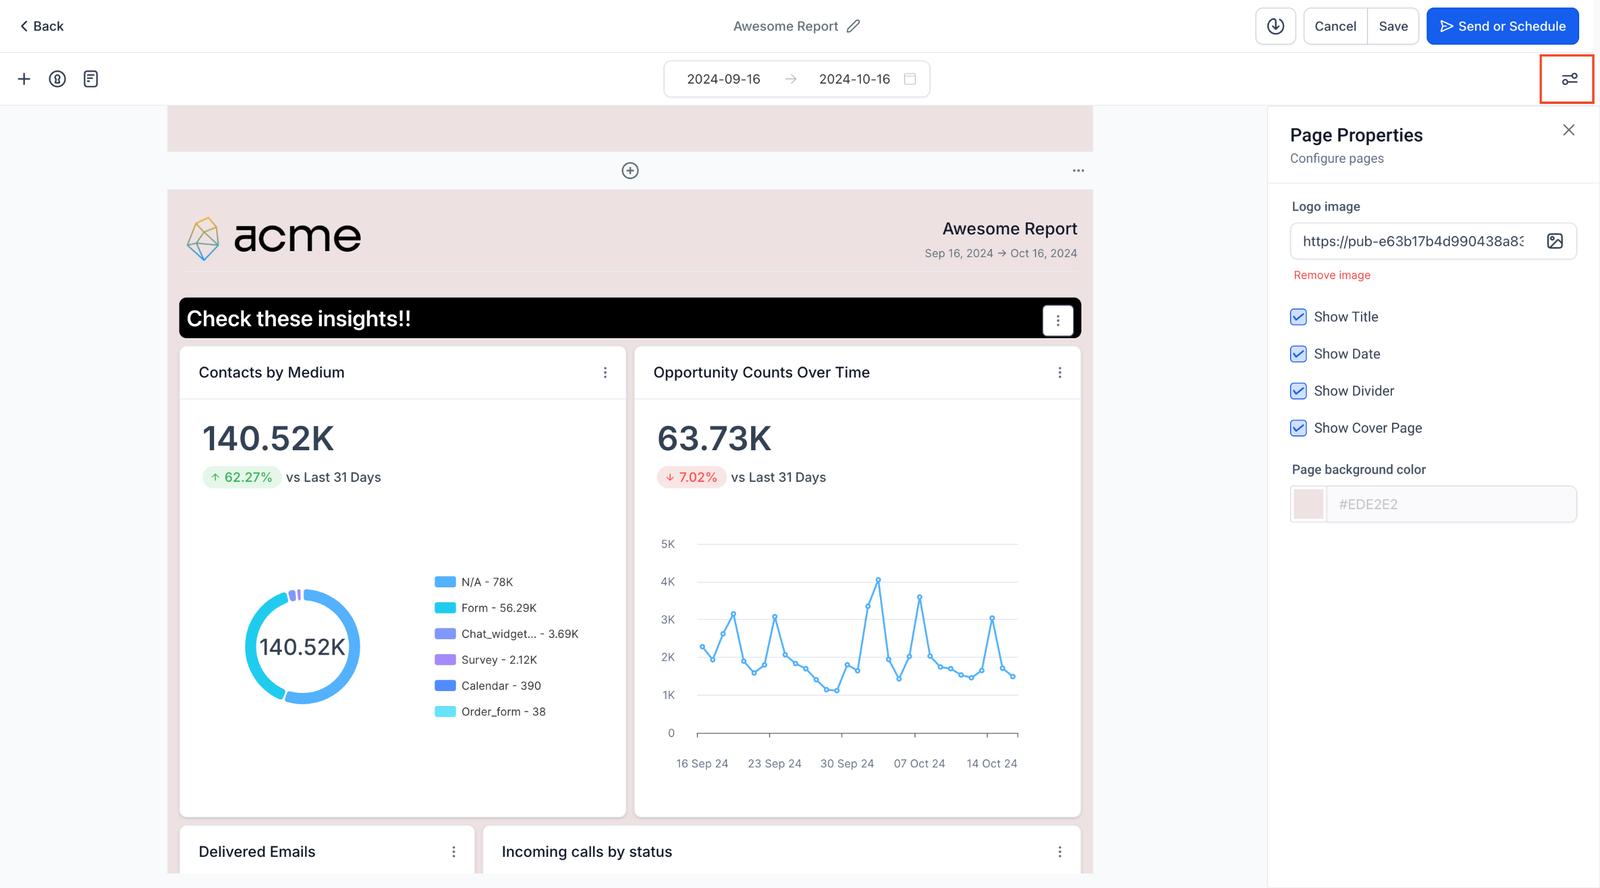
Step 4: Customize the Cover Page:
-
The first page of your report is the cover page, which you can customize or remove through the Page Properties menu on the right.
-
Page Properties Options:
- Upload your company logo.
- Configure headers for each page.
- Adjust the background color of the report pages.
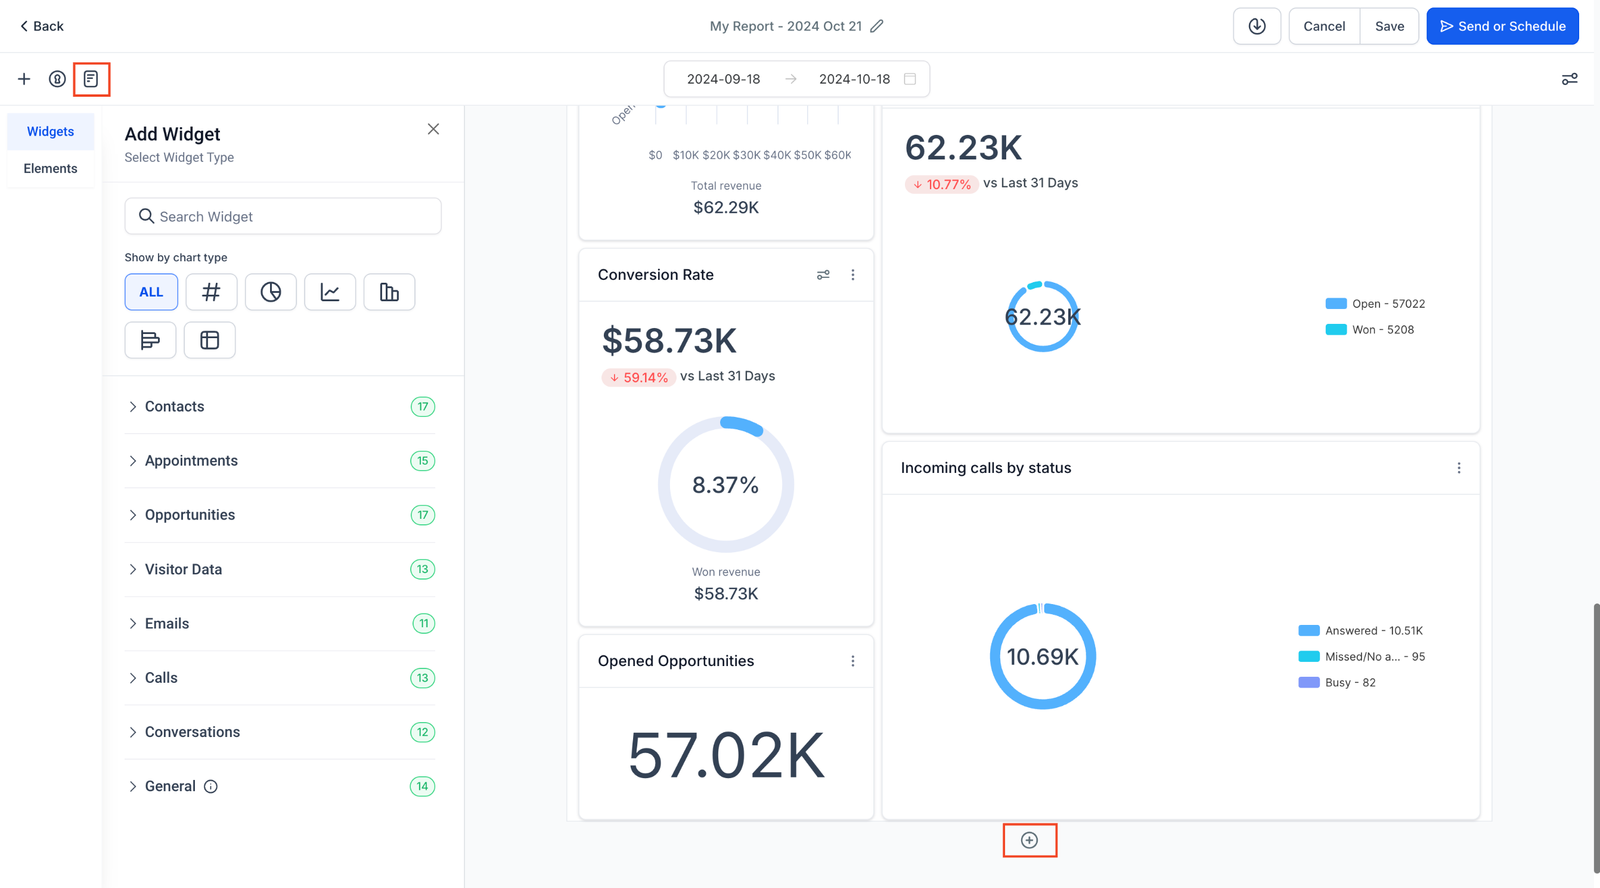
Step 5: Adding Widgets,Sections and Themes:
-
Once your cover page is set, click the + icon on the left to begin adding widgets.
-
From the widget sidebar, upload or customize the widgets you want to include in the report.
-
Use the Elements Menu to add titles and organize your report into sections for easy readability.
-
Switch to the Themes section to configure one of the predefined themes or add your own custom theme to the report
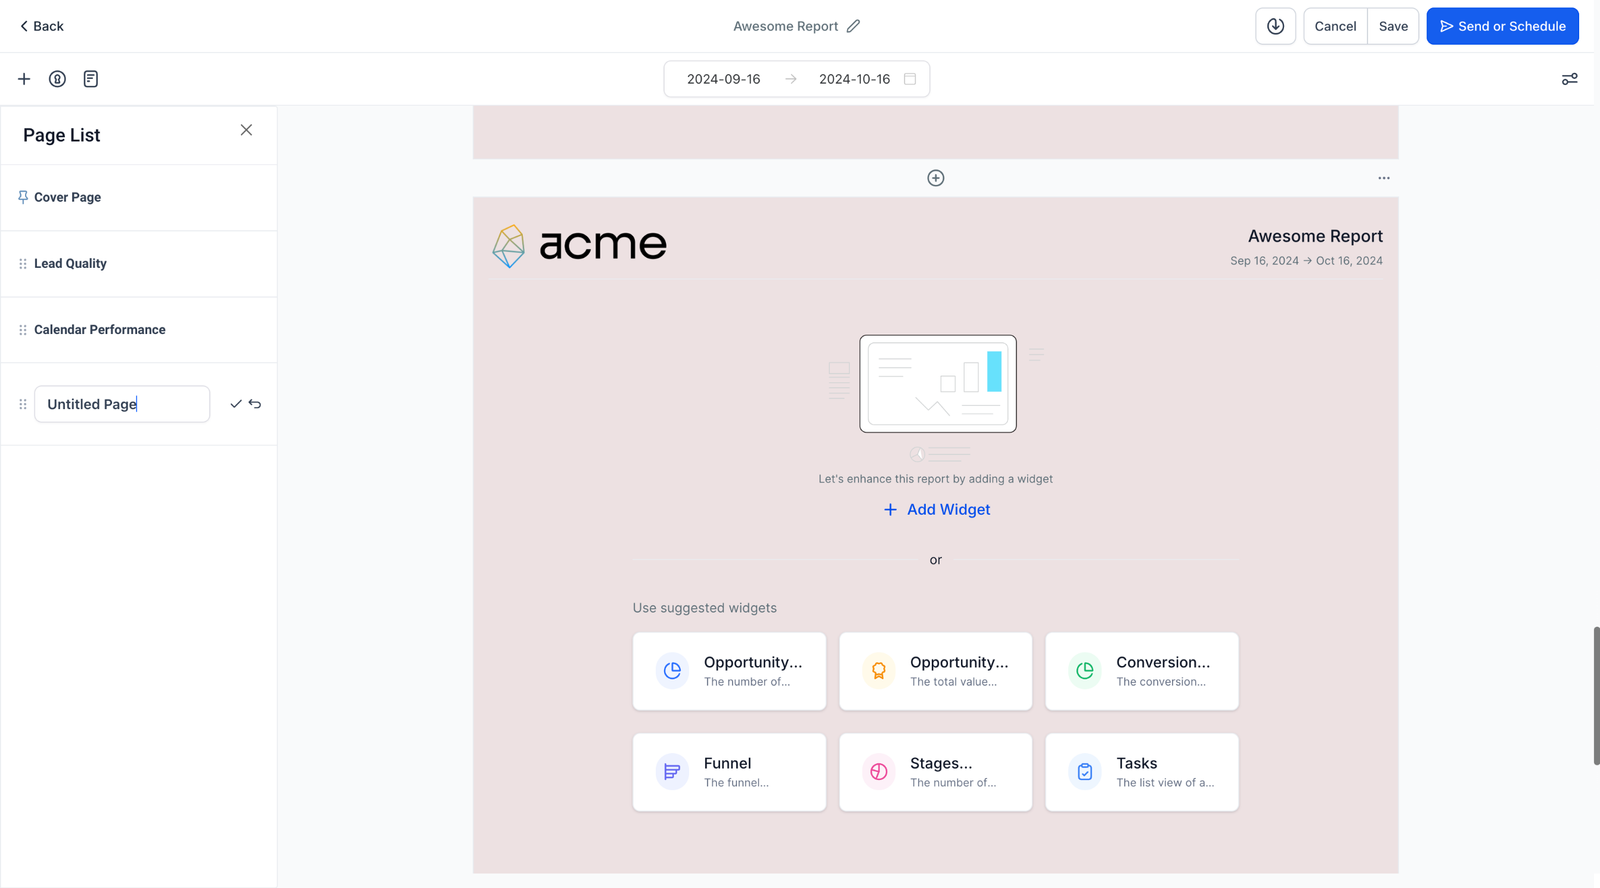
Step 6: Managing Pages:
-
To add a new page, click on the + icon at the top or bottom of an existing page.
-
To see a list of all pages, click the Page Icon.
-
Drag and drop pages to reorder them and rename them as needed for better organization.
Step 7: Download Your Report:
-
When you’re done, you can download a PDF version of your report by clicking the Download button at the top.
Step 8: Save, Send, or Schedule Your Report:
-
After creating your report, click on Save and then choose Send or Schedule.
Step 9: Configure Your Report’s Schedule and Delivery:
-
Frequency: Set how often the report should be sent (daily, weekly, etc.).
-
Time: Select the exact time for the report to be delivered.
-
Date Range: Choose the data period to be included in the report.
-
Comparison Trends: Toggle the “Compare With” option to add trends and comparison data.
-
Sender Email: Customize the email address the report will be sent from.
-
Subject: Add a subject line for the report email.
-
Recipients: Enter the recipients’ email addresses.
-
Optional Email Body: Add a custom message if needed.
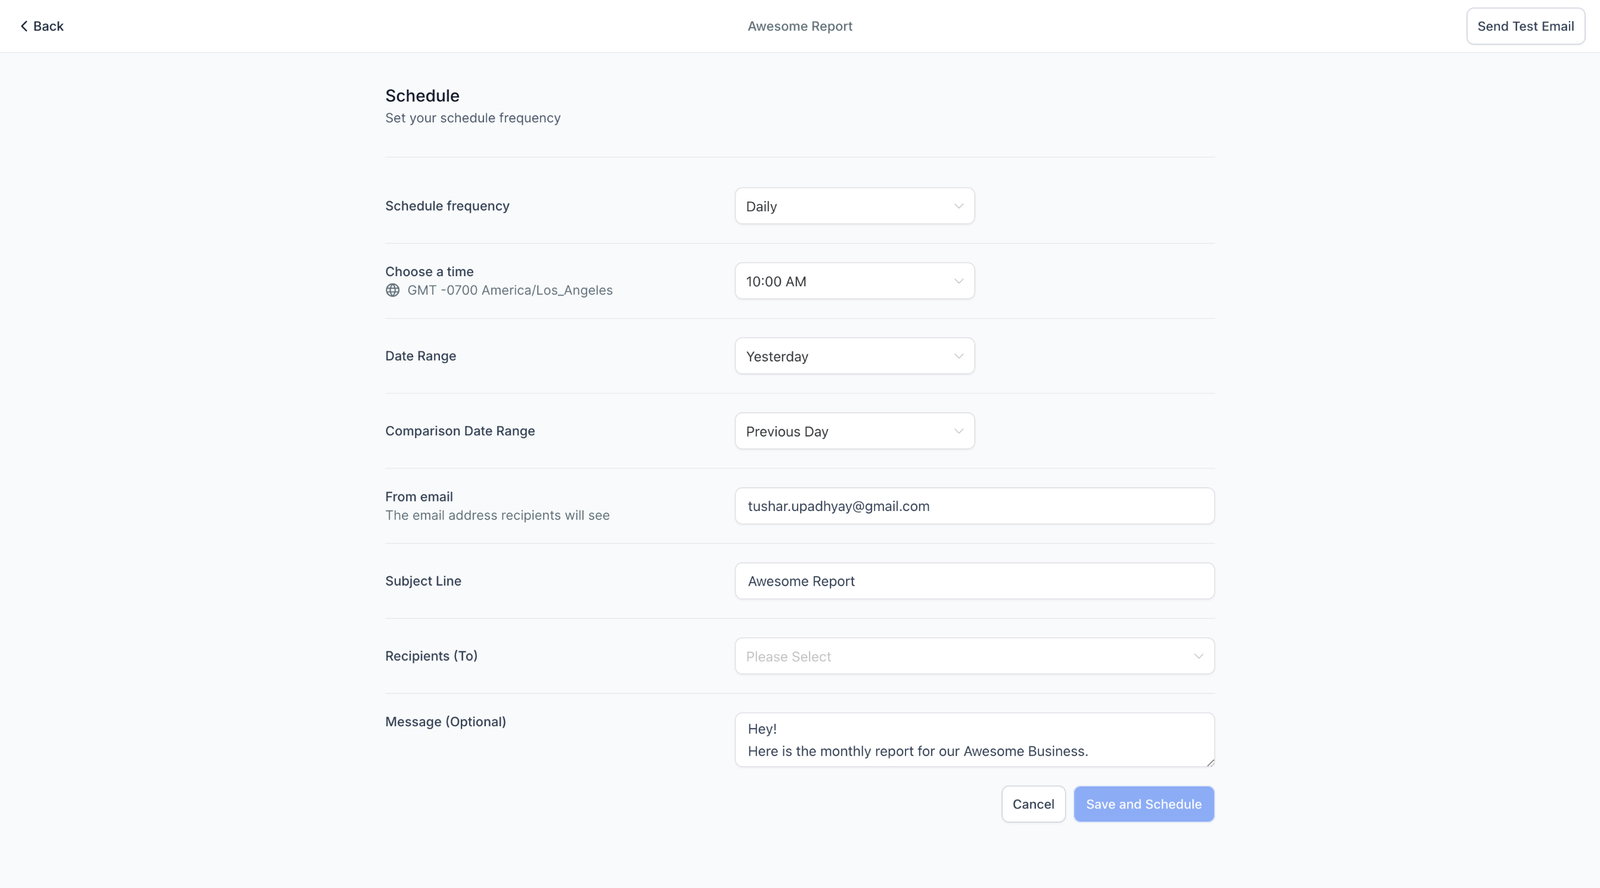
Step 10: Send a Test Email:
-
Before finalizing, you can send a test email to check how your report will appear to recipients.
Step 11: Final Step – Save and Schedule:
-
Once everything looks good, click Save and Schedule to have your report automatically sent based on your configured schedule.


